

A brief overview of Node.js & Express.js

Hey there, I'm Shahima, a humble professional with a penchant for analyzing details and a love for logical reasoning. Currently pursuing my computer engineering major in India, I'm also diving deep into the fascinating realm of data science. Consider Hashnode my personal virtual diary, where I jot down thoughts and discoveries in the coding universe.
Now, here's a little secret: I have a borderline obsession with data structures and algorithms, but let's keep that between us. When it comes to web development, I've got it covered like a perfectly nested div. In fact, I even had the honour of being crowned the victorious champion at the prestigious Smart India Hackathon 2022, where my problem-solving skills were put to the ultimate test. Oh, and did I mention that I miraculously clinched an international rank of 260 in the English Olympiad? Turns out coding and grammar go hand in hand!
As I embark on this exciting journey, I'm on the lookout for opportunities that allow me to unleash my data analysis prowess, decipher intricate patterns, and create models that can predict the future (well, almost). So, if you're seeking a dynamic and driven individual to join your team, consider me your debugging partner. Together, let's revolutionize the world of technology and make it bug-free! Ready to embark on this coding adventure?
1.Node.js & Express, hand in hand?
What is a runtime environment?
A runtime environment is a platform that executes software code, managing system resources like memory and CPU, while abstracting low-level hardware details. It ensures code can run efficiently across different systems.
Node.js is like the engine in a car. It's the runtime environment that executes JavaScript code on a server or computer.
It handles tasks like memory management, file operations, and network communication, ensuring JavaScript can run outside web browsers.
Node.js was created by Ryan Dahl and was first released in 2009. It originated from Dahl's desire to build scalable network applications using JavaScript.

What is a framework?
A framework is a structured set of tools and conventions that simplifies software development by providing a pre-defined structure and ready-made components for building applications. Express.js is a framework on top of Node.js, simplifying server-side web development with JavaScript.
Express.js is like the blueprint for building a car on top of the engine (Node.js).
It provides a structured set of tools and conventions for building web applications, simplifying tasks like handling web requests, routing, and middleware management.
Developers use Express.js to build web applications efficiently on the Node.js runtime, just as builders follow a blueprint to construct a car on an engine-powered vehicle.
Express.js was created by TJ Holowaychuk and was first released in 2010. It was designed to work as a web application framework on top of Node.js, simplifying server-side web development with JavaScript.

Node.js and Express.js
Express simplifies backend development and is highly regarded among professional developers. While Node.js provides the runtime environment to run JavaScript on computers, Express is a framework that makes building website backends easier. Node.js is versatile, but it's like a basic tool. Express is a powerful electric screwdriver that makes web development faster and simpler.
Express code is well-structured, easy to read, and modular, unlike the verbose and complex code required when using Node alone. Express allows us to add middleware like building with Lego, giving us flexibility.
Among JavaScript backend developers, Express is the go-to choice for creating website backends, as it greatly improves readability and productivity. So, if Node.js is the toolbox, Express.js is the must-have power tool for building web backends.
Node.js (Regular Screwdriver):
- Imagine you're trying to assemble furniture with a regular screwdriver. It gets the job done, but it requires a lot of manual effort and can be quite slow. Just like Node.js, it's versatile and can be used for various tasks, but it might not be the most efficient choice for every situation.

Express.js (Electric Screwdriver):
Now, picture yourself using an electric screwdriver to put together the same furniture. It's much faster and easier, making the task a breeze. Express.js is like the electric screwdriver—it's a specialized tool built on top of Node.js that simplifies and accelerates web development, particularly for creating website backends. It takes the power of Node.js and adds a layer of convenience and efficiency, making the development process smoother and faster. Just as you'd choose an electric screwdriver for assembling furniture quickly, developers often choose Express.js for building web backends efficiently.

2.What is NPM?
NPM (Node Package Manager) is a tool used in the Node.js ecosystem to manage and distribute JavaScript packages or libraries. It allows developers to easily install, update, and share code packages with others.
In the car and engine analogy:
- NPM (Node Package Manager) can be likened to the fuel station or gas station where you go to refuel your car. It's the place where you can easily access and obtain the necessary resources (JavaScript packages or libraries) that your Node.js engine (server) needs to run efficiently. Just as you visit a gas station to power your car, developers use NPM to acquire and manage essential code packages for their Node.js applications, keeping them running smoothly.

3.Creating our Express server.
Creating an Express server involves six key steps:
Directory Setup: Start by creating a dedicated project directory to organize your files.
Index.js File: Inside the directory, create an "Index.js" JavaScript file. This file will be your server's main entry point.
Initialize NPM: Initialize NPM to manage project dependencies and configuration. Use the following command to initialize npm
npm init -yInstall Express: Use NPM to install the Express package using
node i express, which simplifies web server development.Write Code: In "Index.js," write the code that defines your server's behavior, including handling requests.
// 1  import the express module
import express from "express";
// 2  create a constant for using express module in the followung server code {in this case "app" is the constant}
const app = express();
// server code

// server code

// 3 initialize a port {in this case 3000} for the serve to listen and respond to requests

app.listen(3000, () => {
    // this is the callback function that is going to be triggered when our server is triggered.
  console.log("The server is running on port 3000.");
});
- Start the Server: Execute "
node index.js" in your terminal to start your Express server. It will now listen for and respond to incoming requests.
Go to the following URL : - http://localhost:3000/ on your computer.
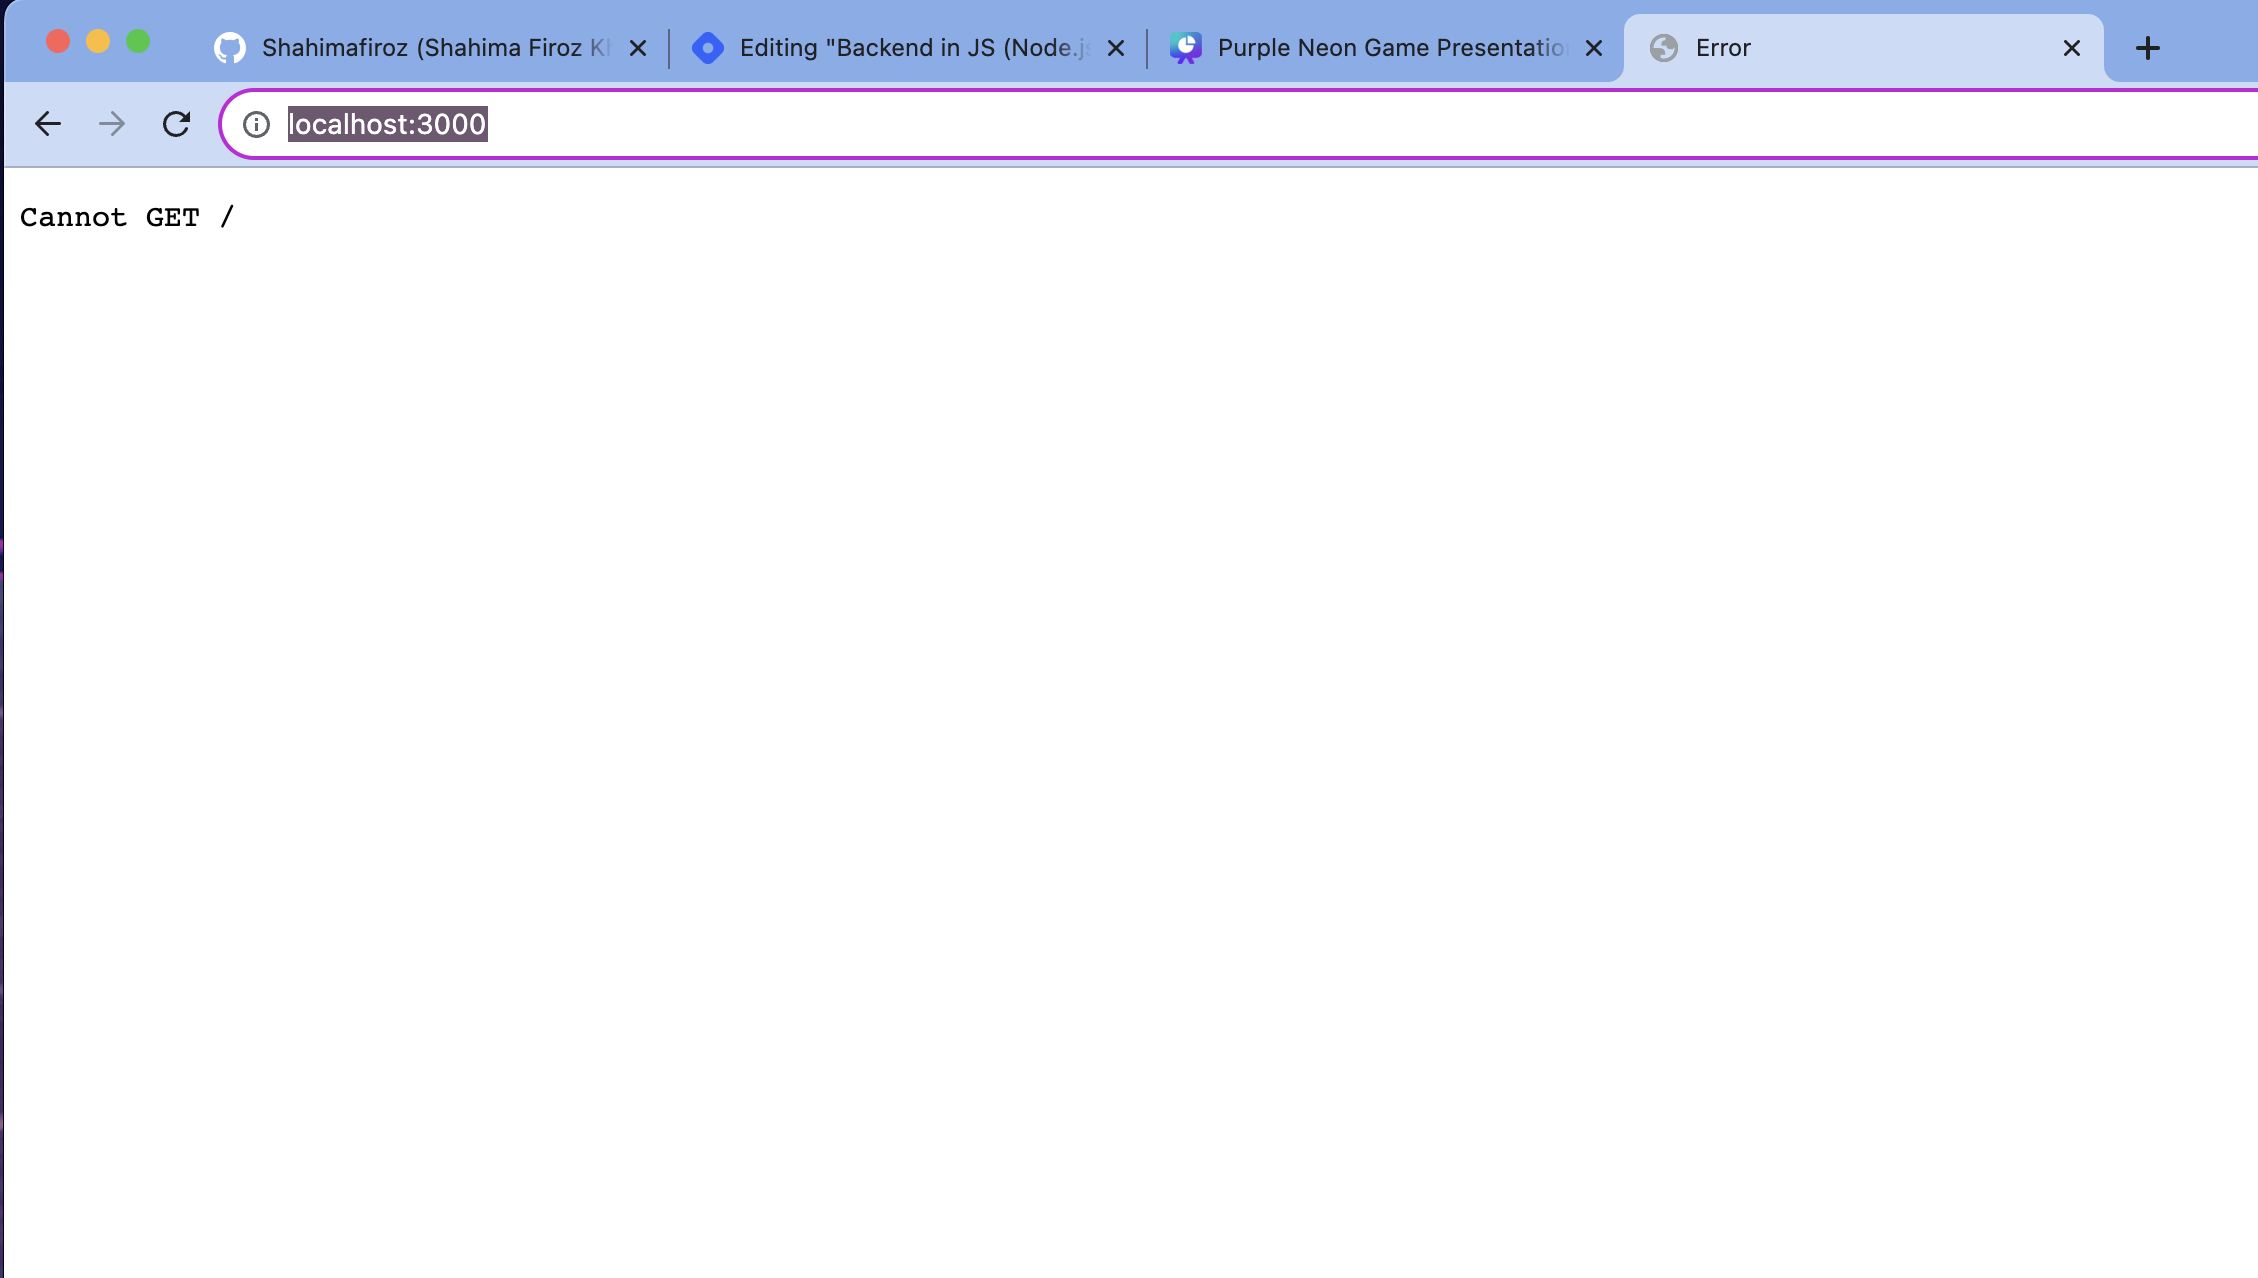
This is the output you must get in your terminal

Ctrl + C to stop the server.What is LocalHost 3000?
"Localhost" is like your computer playing the role of a server for your website, but only within your computer. It's like your computer becoming the host for your website's back end, and this is the "local" part of hosting.
When you type "https://localhost" into your browser, you're basically telling your computer to look into itself. Then, if you add a colon and specify a port number (like 3000), it's like telling your computer to look for a specific door (port) on itself.
Think of ports as doors on your computer. Each door has an address, and your server can listen behind a particular door, like Port 3000. So, when you access "localhost:3000," it's like knocking on that specific door of your computer, and your server, which is waiting behind that door, responds to your request. It can send back things like HTML, CSS, or JavaScript files to display your website.
These doors (ports) help different services, like your printer or remote control for a presentation, access your computer without interfering with each other. You can even check which doors are open on your computer using commands like 'netstat' on Windows or 'lsof' on Mac. This way, you can see which doors (ports) are actively listening for requests from the outside world.
So, when you encounter an error message like "cannot get /," it means your server couldn't find the specific thing you requested.
4.HTTP Requests
HTTP request verbs, also known as HTTP methods, are actions or commands used by clients (e.g., web browsers) to communicate with web servers. These verbs specify the desired operation to be performed on a resource identified by a URL. Here are some common HTTP request verbs:
GET: Used to retrieve data from the server. When you visit a web page in your browser, it typically sends a GET request to the server to fetch the page's content. Hence the above error "Cannot GET" means
app.get("/", (req, res) => { res.send("hellooooo shahima !!!"); });POST: Used to send data to the server to create a new resource. It is commonly used when submitting forms on websites, where data like user input is sent to the server for processing.
PUT: Used to update or replace an existing resource on the server. It sends data to completely replace the identified resource or create it if it doesn't exist.
PATCH: Similar to PUT, but used to apply partial modifications to an existing resource. It's often used when you want to update only specific fields of a resource.
DELETE: Used to request the removal of a resource on the server.
These HTTP request verbs allow clients to interact with web servers in various ways, enabling actions like retrieving data, submitting data, updating resources, and more. Each verb serves a specific purpose and is used in specific contexts when building web applications and APIs.
In Express.js, you can technically use other variable names in place of
reqandres, but it's a widely accepted convention to use these specific variable names, and it's highly recommended to stick with them for the sake of clarity and consistency in your code. Here's why:
Convention: Using
reqandresis a well-established convention in the Express.js community. When other developers read your code, they will expect to see these variable names, and it makes your code more readable and maintainable.Middleware Compatibility: Many middleware packages and libraries for Express are built with the assumption that you will be using
reqandres. Using other variable names might lead to compatibility issues with such middleware.Documentation and Examples: Most Express.js documentation and online tutorials use
reqandres. If you stick with these names, it will be easier to follow documentation and examples.Regarding interchangeability, we cannot freely interchange their positions. The order of
reqandresis specific and cannot be changed. Thereqobject always comes first as it represents the incoming request, and theresobject comes second to represent the response you are sending back to the client. Swapping their positions would lead to errors and unexpected behavior in your Express.js application.
What is the difference between put and patch?
The main difference between the HTTP methods PUT and PATCH lies in how they handle updates to resources:
PUT:
Analogous to Replacing: Think of PUT as similar to completely replacing an object with a new one. When you use PUT to update a resource, you send the entire updated object, and it replaces the existing resource on the server.
Idempotent: PUT requests are idempotent, meaning that multiple identical PUT requests will have the same result as a single request. If you send the same update multiple times, it won't change the outcome.
PATCH:
Analogous to Modifying: PATCH is like making specific modifications or changes to an object without replacing it entirely. When you use PATCH, you send only the changes you want to apply to the resource, leaving the rest of the resource intact.
Not Necessarily Idempotent: PATCH requests are not inherently idempotent. The same PATCH request applied multiple times might yield different results if the initial state of the resource changes between requests.
Analogy: Imagine you have a car, and you want to update its colour:
Using PUT is like taking the car to the shop and completely replacing it with a new car of the desired colour. You get a brand-new car, but it's a complete replacement.
Using PATCH is like painting the car in the desired colour without changing the entire vehicle. You modify a specific part (the colour) while leaving the rest of the car as it is.
In summary, PUT replaces the entire resource, while PATCH makes partial modifications to the resource, much like getting a new car vs. painting an existing one.
HTTP Response Status Code.
HTTP response status codes are three-digit numbers that the server sends to the client's browser to provide information about the outcome of an HTTP request. These status codes convey whether the request was successful, encountered an error, or requires further action. Here are some common HTTP response status codes:
1xx (Informational): These are informational responses and are not typically seen in everyday web browsing.
- 100 Continue: The initial part of the request was received, and the client should proceed with sending the remainder of the request.
2xx (Successful): These indicate that the request was received, understood, and successfully processed.
200 OK: The request was successful, and the server is sending back the requested data.
201 Created: The request has been fulfilled, and a new resource has been created.
204 No Content: The request was successful, but there is no content to send back.
3xx (Redirection): These codes indicate that further action needs to be taken to complete the request.
301 Moved Permanently: The requested resource has been permanently moved to a new URL.
302 Found (or 303 See Other): The resource is temporarily located at a different URL.
304 Not Modified: The client's cached version of the resource is still valid.
4xx (Client Error): These indicate that the client has made an error in the request.
400 Bad Request: The server did not understand the request due to invalid syntax or other client-side issues.
401 Unauthorized: Authentication is required to access the requested resource.
403 Forbidden: The server understands the request but refuses to fulfil it.
5xx (Server Error): These indicate that the server failed to fulfil a valid request.
500 Internal Server Error: A generic error message indicating a problem on the server.
502 Bad Gateway: The server, while acting as a gateway or proxy, received an invalid response from the upstream server.
These status codes help developers and web servers communicate issues with HTTP requests and responses. They provide valuable information for debugging and understanding the outcome of web requests.
HTTP status code cheat sheet according to Sander Hoogendoorn
1xx (Informational): "Hold on, something's happening or I'm giving you some info."
2xx (Successful): "Here you go, success, here's what you wanted."
3xx (Redirection): "Go away, I'm redirecting you to this URL."
4xx (Client Error): "You screwed up, the request is invalid."
5xx (Server Error): "I screwed up, there's a problem on my end."
5.What is middleware?
A middleware is a software component or module that acts as an intermediary layer in a software application's architecture. It sits between different parts of the application and handles various tasks related to request processing, data transformation, or logic execution.
Middleware is commonly used to enhance the functionality and flexibility of software systems by providing a means to execute tasks before, during, or after the processing of requests or events. In web development, middleware often plays a crucial role in handling HTTP requests and responses, allowing developers to add custom logic, authentication, logging, or data manipulation to web applications.
Based on use cases we can divide middleware into four main categories
Authentication Middleware:
- Purpose: Verify user authentication.
Error Handling Middleware:
- Purpose: Handle errors and provide custom error responses.
Preprocessing Middleware:
- Purpose: Process data from incoming requests.
Logging Requests Middleware:
- Purpose: Log details of incoming requests.
Body Parser
Body parser is a package used as the preprocessing middleware
Body Parser is a middleware for Express.js that facilitates the parsing of incoming request bodies. It can be used to parse various types of data, including JSON and form data. Below is an example of how to use Body Parser in an Express.js application:
First, you need to install Body Parser as a dependency in your project:
npm install body-parser
Next, in your Express application, you import Body Parser and use it as middleware to handle incoming request bodies. Here's an example code snippet:
const express = require('express');
const bodyParser = require('body-parser');

const app = express();
const port = 3000;

// Middleware: Body Parser to parse JSON and URL-encoded data
app.use(bodyParser.json()); // Parse JSON request bodies
app.use(bodyParser.urlencoded({ extended: true })); // Parse URL-encoded request bodies

// Define a route that handles POST requests
app.post('/submit', (req, res) => {
  // Access the parsed request body
  const requestData = req.body;

  // Perform some processing with the request data
  // For example, log it or save it to a database

  // Respond to the client
  res.send('Data received successfully!');
});

app.listen(port, () => {
  console.log(`Server is running on port ${port}`);
});
In the above code:
We import both
expressandbody-parser.We create an Express application and specify the port (in this case, port 3000) on which the server will listen.
We use
app.use()to apply the Body Parser middleware to our Express application. We configure it to handle both JSON (bodyParser.json()) and URL-encoded (bodyParser.urlencoded()) request bodies. Theextended: trueoption allows parsing of rich objects and arrays.We define a route for handling POST requests at the '/submit' endpoint. In this route, we access the parsed request body
req.bodyand can perform further processing as needed.Finally, we start the Express server to listen on the specified port.
With Body Parser configured as middleware, your Express application can handle incoming JSON and form data in HTTP POST requests seamlessly.
here is the documentation for Body Parser

Morgan
Morgan is a package used as the Logging Requests Middleware.


